Installation
You can get the latest release of the plug-in from its website on GitHub.
In the website, go to the Assets section and download the compressed folder
plugin_TGDraw.zip.
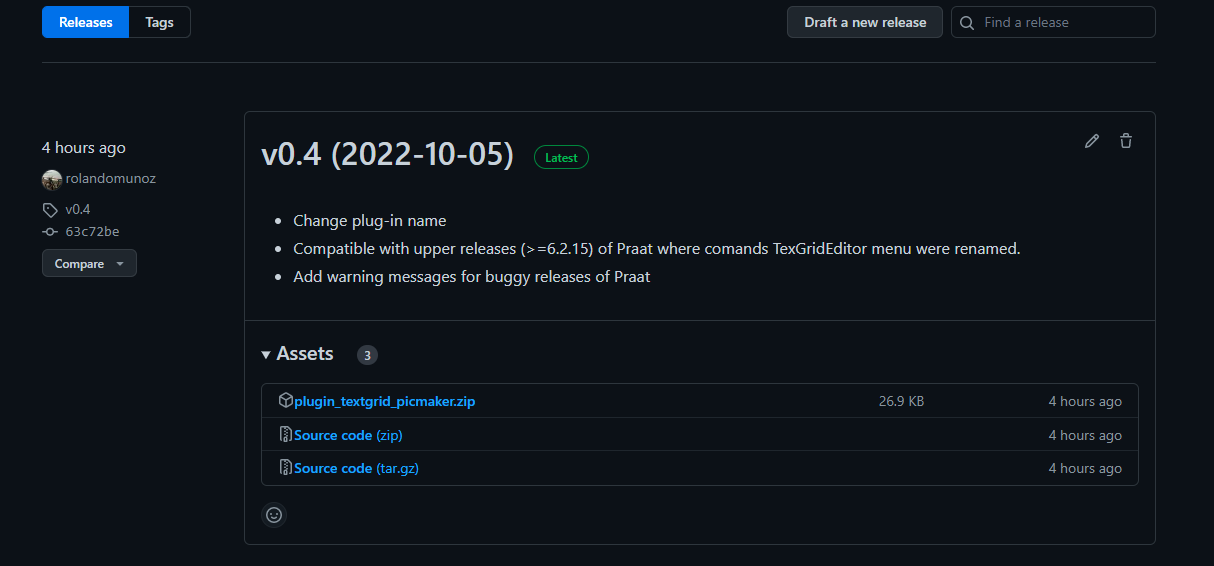
Fig. 1 Download section on GitHub
Uncompress and copy the folder to the Praat preferences folder. This is a directory created by default when you run Praat on your machine for the first time. According to the Praat manual, the preferences folder can be found in one of following directories depending on your operating system:
On Windows,
C:\Users\your user name\Praat\On Mac,
/Users/your user name/Library/Preferences/Praat Prefs/On Linux,
/home/your user name/.praat-dir/
In the Fig. 2 there is a screenshot of the preferences folder in a computer with Windows 10. As you can see, the plug-in folder is also copied to this directory. In the Fig. 3 there is a view of the plug-in folder.
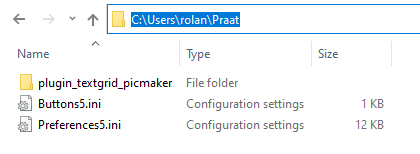
Fig. 2 The Praat Preferences directory on Windows 10
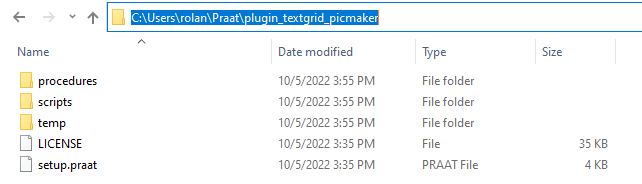
Fig. 3 The plug-in folder
Warning
When uncompressing the downloaded folder, some tools put the plug-in folder within another folder.If this is your case, copy only the subfolder to the preferences folder. You can check it by looking at the setup.praat file. The plug-in folder contains this file just under it.
Warning
If you rename the plug-in’s folder, do not remove the preffix plugin. This word is necessary for Praat to recognize the plug-in.
Finally, check that Praat can recognize the plug-in. Start Praat and go to
Praat > Goodies in the menu bar. There, you should be able to see the
TGDraw submenu as in the Fig. 4.

Fig. 4 The plug-in menu